
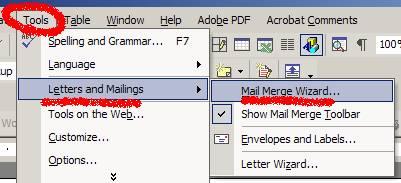
| Today's Technology Tip is all about how to make address labels using Microsoft Excel and Word. The examples below are from the XP versions of Excel and Word. Other versions of the programs are similar enough that these examples should give you a pretty good start.
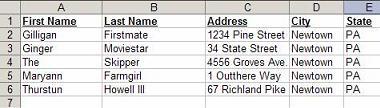
First you have to have a data base or names and addresses to work with. I would recommend that you make your address list in Excel because it's fairly easy but you could make it in Access of course. Your data base should be set-up something like this:
  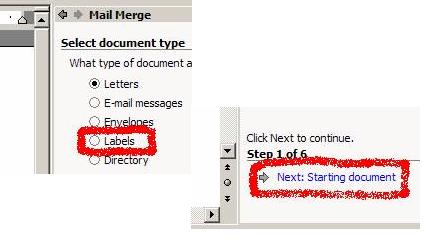 Then click “Next: Select Recipients” in the lower right hand corner of the screen  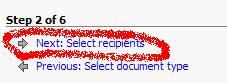
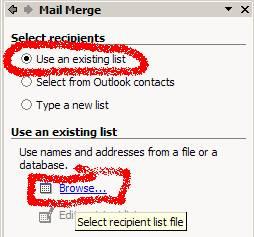
We want to “Use and existing list” and then “Browse…” to find it. You will have to search through your H: drive to find the Excel File you just saved.
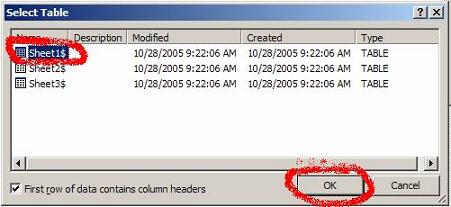
Next you will have to tell the computer which sheet in the excel file to use. If you remember from Tech Tip Number 25 there are 3 worksheets or "Sheets" in every Excel file. In this example you want to select Sheet$1 and then click “OK”
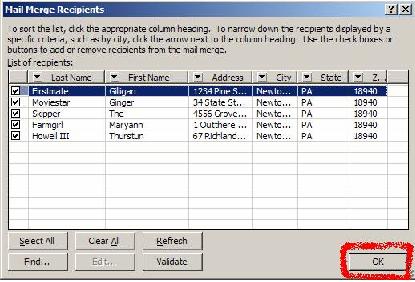
The next window that appears is used to control what information you want to mail merge. In this example I will be using all the information. All I have to do is click “OK.”
At this point you can finish the mail merge without the Wizard (I actually find it
 easier this way). When we selected our data base (the excel file) some new toolbar buttons appeared. easier this way). When we selected our data base (the excel file) some new toolbar buttons appeared.
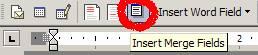
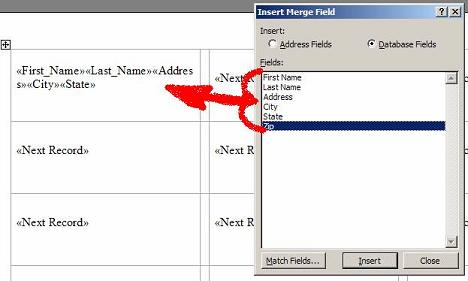
Use the “Insert Merged Field” button to start putting fields on your mailing labels:
 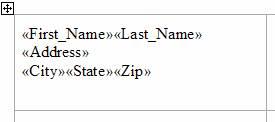 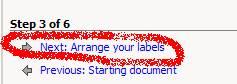 Now its time to replicate the mailing label. To do that click on “Update all Labels” in the middle right hand side of the screen. Then click on “Next: Preview your labels” 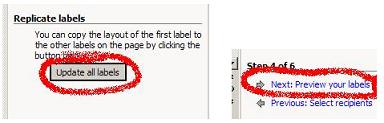
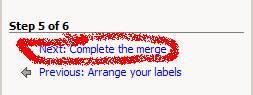
Whoopie! Almost Done! It’s starting to look like a mailing label. Click “Next: Complete and Merge” in the bottom right hand corner:
 ONE MORE THING: We have had problems with mailing labels where we didn’t merge them to a new document (especially large, multi-page labels). Make sure you go to the 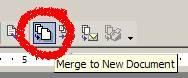 tool bar and select “Merge to New Document” before you print or save your labels. tool bar and select “Merge to New Document” before you print or save your labels.All that’s left to do is save the file and then print the labels. Please always remember to save your file in case something goes wrong in the printing (it saves time redoing your work). You’re on your own to figure out how to load the paper so it prints on the right side. Featured YouTube Video: How to Mail Merge in Microsoft Word 2007 |
PRACTICE ACTIVITY: If you don’t have to do a mail merge today save this email someplace where you can find it the next time you have to.
TO KEEP ON LEARNING: If you'd like to learn more about mail merging try searching the internet for:
mail merge
Word tutorials |
How to mail merge in Microsoft Word
10:08:00 AM
0
Tags
