Add Your BlogSpot Blog to Google Webmaster Tool to check your website data of blog get more rank in Google and get more traffic on your blog from search engine. It’s very easy to that adds your blogger blog to Google webmaster tool and we give you step by step guide to add blog to Google webmaster tool.
Add Your BlogSpot Blog to Google Webmaster Tool
1. Login to Google Webmaster Tools account.

2. Click on the Add a site button at the top as shown in below figure.

3. Enter your blog URL like http://kumarinfocity.blogspot.com and press continue.

4. Now select a method that you like to verify ownership of website.
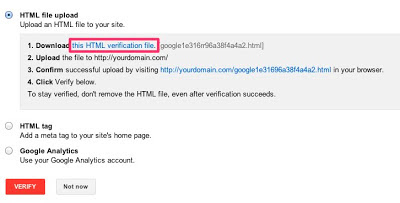
5. First recommended method for verification is Upload an HTML file to your server (for owned hosting), in this verification you need to download and upload verification file to your blog address like http://kumarinfocity.blogspot.com/verificationfile.html as shown as below picture.

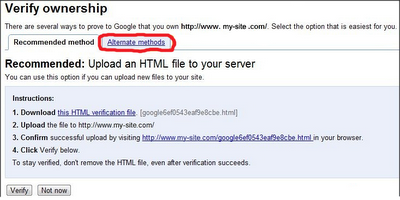
6. You can also choose alternative methods which are used for blogger so click on alternative methods as shown in figure.

7. Click on add a Meta tag in alternative methods

8. Copy Meta tag.
9. Go to your blogger account in new tab
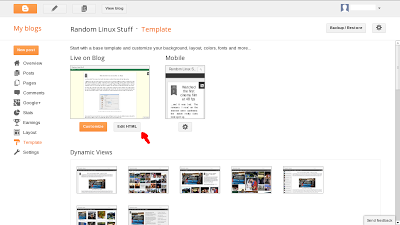
10. Go to Template and click on the Edit HTML button

11. Search <head> in Template coding (use CTRL + F)
12. Paste Meta code at below <head> then click on the Save Template button.
13. Now Go to Google Webmaster Tools and press verify button.
Now your site fully added in Google webmaster tool. Now you can add your sitemap in webmaster tool.

