Recently, I connected an old HP Officejet Pro 8500 to my network and tried to add the printer to my Macbook Pro running OS X Mountain Lion. I was able to install the printer fine on my PC, but when I tried to add the printer to OS X, I got the following error message:
Can’t install the software for the HP Officejet Pro 8550 printer because it is currently not available from the Software Update server.
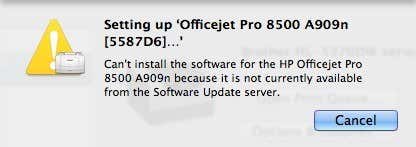
After doing some research online, it seemed I had to perform a Software Update since the driver for my HP printer was supported by Apple. I performed a software update, but there was nothing to update! So now I was pretty confused as to what I should do. Luckily, I was able to figure it out, but it does take a few steps to get your printer properly installed on OS X.
Firstly, you have to manually download the printer driver package for your printer brand from Apple. You can see a list of all the printers supported by Apple on this page:
First make sure your printer is actually listed there because if it isn’t, then you won’t be able to install the printer on OS X no matter how hard you try. Your only other option at this point is to check the manufacturer’s website and see if they have a Mac driver you can download that maybe isn’t included in the Apple driver package yet.
If your printer is listed there, then you need to download the driver package and install it. It would have been nice if they had links directly from that page to the driver packages, but they don’t. If you want the driver package for HP, go to Google and search “HP printer drivers mac” and the first link will bring you here:
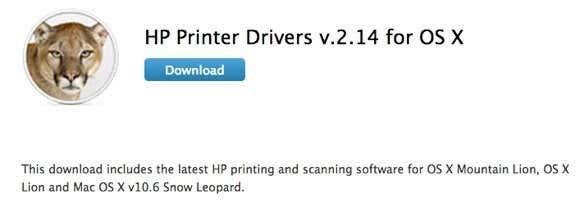
Here are the links for a couple of more, but to find any other brand, just put the brand name followed by “printer drivers mac” and you’ll find them. Make sure to look for a URL that says “support.apple.com”.
Brother - http://support.apple.com/kb/dl894
Lexmark - http://support.apple.com/kb/dl1397
Samsung - http://support.apple.com/kb/DL905
Fuji-Xerox - http://support.apple.com/kb/dl904
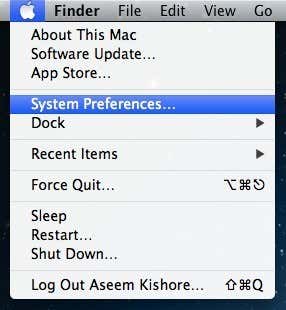
Download the DMG and install it on your Mac. Once you have installed it, go ahead and restart your computer. Now we have to reset the printing system and then reinstall the printers. To reset the printing system, click on the Apple logo and then click on System Preferences.
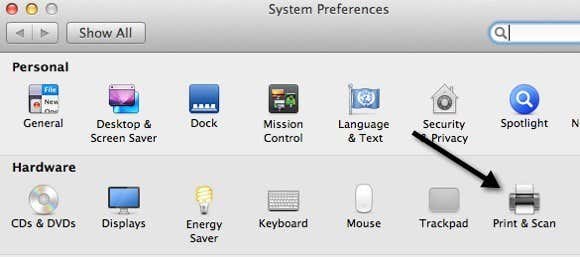
Now click on Print & Scan under the Hardware sub-heading:
Now in a white area in the list of printers box, go ahead and right-click. A menu will pop up and the only option is to Reset Printing System.
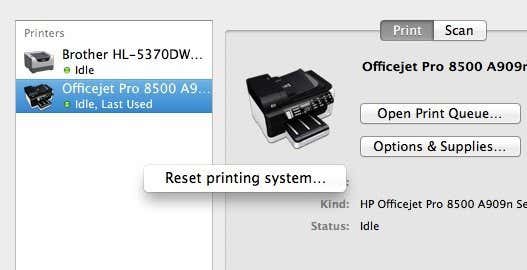
Note that resetting the printing system will remove all the printers from your computer. However, for the ones that were already there, don’t worry because you can add them back without needing to reinstall the drivers or use the CD or anything else. When the printing system is reset, the list box will be empty. Now go ahead and click on the + sign at the bottom of the list box.
It should automatically detect all the printers connected via USB or wired or wireless. First go ahead and add back the ones that were not causing the problem. Then go ahead and add the one that was giving you the error message.
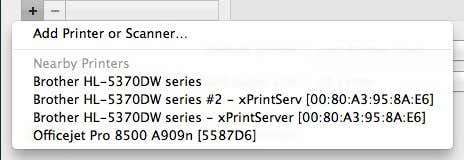
Hopefully, now when you choose the printer, it should install automatically without any errors because you downloaded and installed the driver package manually. If you’re still having trouble, post a comment here and I’ll try to help. Enjoy!

