Windows Basics

Kumar Info City
0
Today’s Technology Tip will help you navigate your way through the various folders and windows on your Microsoft desktop.
Some common terminology you should be familiar with:
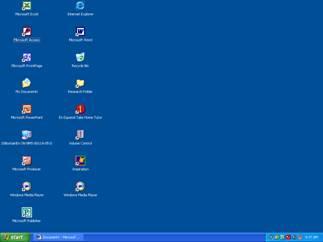
  1. DESKTOP:  The opening screen when you turn on your computers.  It probably looks something like this:
windows1 
  1. ICONS:  The little pictures that represent files or programs.  Here are some sample icons:
Shortcut to Word:  windows2   Shortcut to GradeQuick: windows3  
A Word Document:  windows4

  1. MY COMPUTER:  The desktop icon from which you can navigate your way through the various drives, folders and files on your computer.
The “My Computer” Icon:  windows5
  1. FOLDERS:  The basic organizational structure in Microsoft Windows.  Like a giant filing cabinet your computer uses folders to organize everything in it.  Here are some sample folder Icons:
win8 win9  win10  win11
 win6 
You might notice that your icons and folders might look different than the ones pictured above.  When ever you open a folder (by double clicking the left mouse button) a new window opens to show you what is in that folder.  You can change how the icons (files) are displayed.  Here’s how:
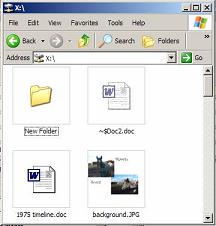
1)      Open a folder, any folder.
2)      Every window has the following “Bars” at the top:
win7

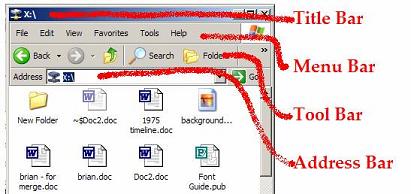
The Title Bar tells you the name of the folder you are in.  In this example the title bar tells you that you are in a network drive called "X:"

Each word on the Menu Bar gives you a drop down menu of options.
The Tool Bar offers you shortcuts for common tasks

The Address Bar tells you which folder you are in and also offers you a way to access other folders.  If you click the triangle on the Address Bar you can see a drop down list of other folders and pathways to them:
win12
 3)      To change the view click on the word “View” on the menu bar and select a new view from that list.  Each view has its own advantages and disadvantages.  For example, if you are looking at a folder full of pictures you might want to use the “Thumbnail” view so you can see what each picture looks like.  If you are trying to clean out your C: drive you might want to use the “Details” view to find the largest files so you can delete them first.  Here are some sample views of the same folder:
Thumbnail View
view 1
Tile View
view 2
Icon View
view 3
List View
view 4
Details View
view 5


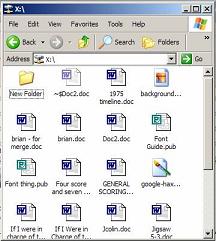
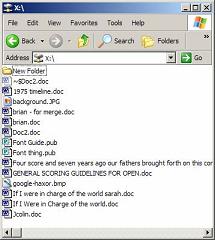
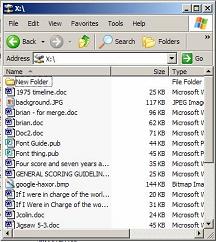
PRACTICE ACTIVITY:  Open up a folder on your computer today and try changing the view.  Select a new one that you like.

TO KEEP ON LEARNING:  If you'd like to learn some more about the desktop in Microsoft Windows try searching the internet for:

Microsoft Windows History
Using Windows
Windows Basics

Post a Comment

0Comments

Post a Comment (0)